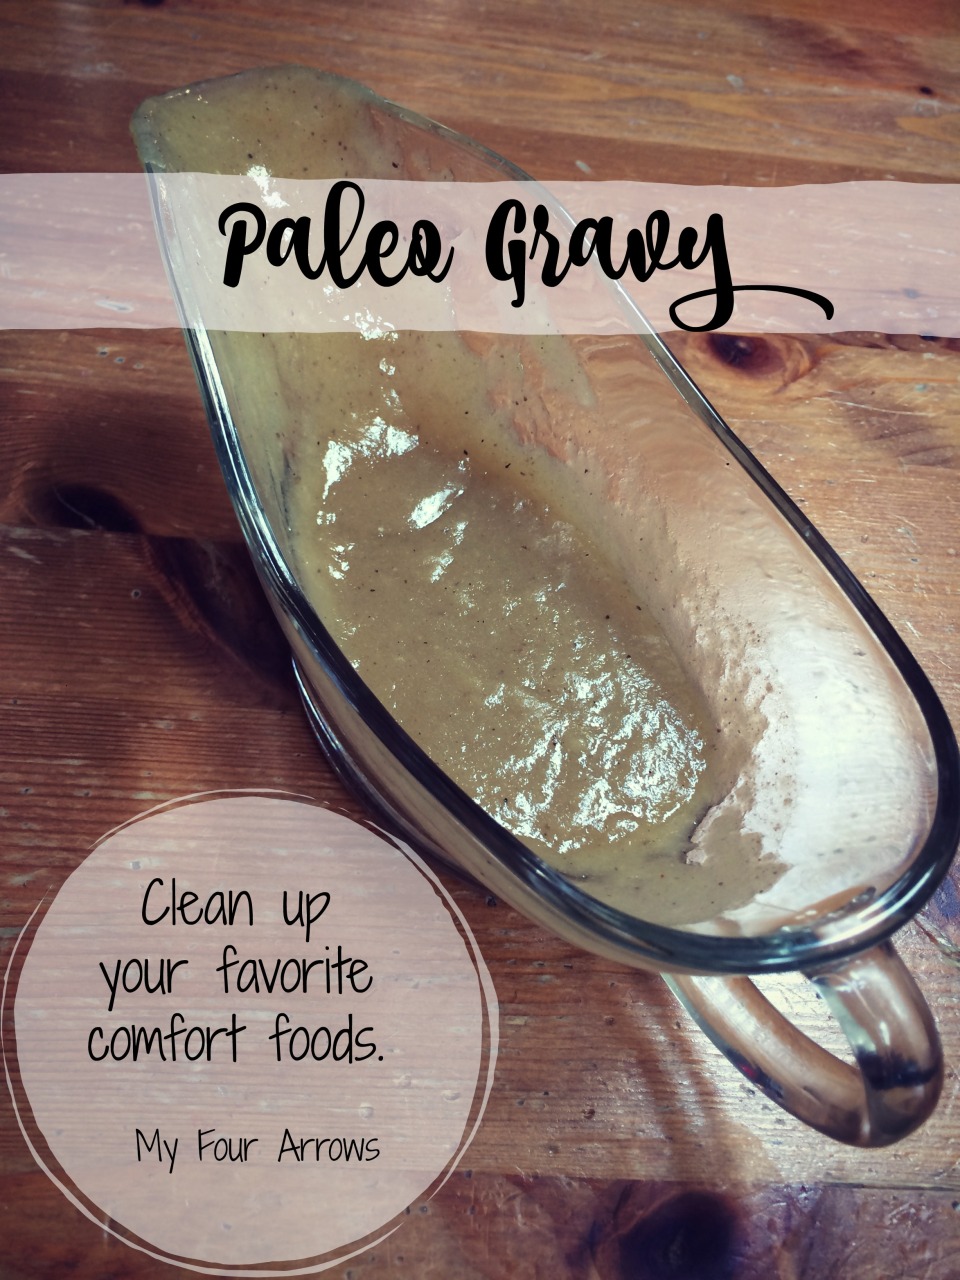
Probably the most difficult thing about switching to a healthier lifestyle is missing your favorite comfort foods. For me, gravy is life. But, most gravy made from scratch is not clean and contains refined flour. Over the weekend, I decided to play around and find a recipe that works and was thrilled when it worked out! Creating my own recipes is always a bit terrifying, but always worth it. (I say creating my own recipes understanding that someone somewhere has probably created a similar one. If so, I didn’t find it.)
Ingredients:
1/4 cup Ghee
1/3 cup cassava flour
3 cups of bone broth
salt and pepper to taste
Directions:
1. Melt the ghee in a medium sauce pan. Slowly whisk in the cassava flour until combined and smooth.
2. Slowly pour in bone broth while you are still whisking. You want to be sure you keep whisking so that your gravy does not become lumpy.
3. Continue cooking until your gravy is bubbly and thickened.
4. Add salt and pepper to taste.
**You could make this AIP by omitting the pepper and being certain that you didn’t add any off-limits spices to your bone broth.**
Making gravy from scratch is so simple. I think people often get intimidated by it because of the fear of lumpy gravy with a funky texture. Give it a try! If I do end up with lumpy gravy made from broth or pan drippings, I use my immersion blender to smooth it out.
-
-
Fourth of July Fun

I love the 4th of July. I love dressing in red, white, and blue. I love doing fun crafts and themed food! I love holidays, and have passed my love on to my daughters. Addi has been planning cupcakes for what feels like months! Here is a round up of some fun things you can do or make for the 4th of July with little time to prepare!
Recipes
The easiest desserts are the classic bomb pops! They are so good, easy, and fun.
Festive Red, White, & Blue Bark
Firecracker Jello Snacks
Fourth of July punch
Tie-Dyed cake
Firecracker Popcorn
Berry Trifle
Cheese and Fruit Platter
Crafts
Patriotic Pom Pom Garland
Patriotic Ribbon Wand
Parade Wands
Slime
Paper Lanterns
Fairy Crowns
Patriotic Necklaces
Decorations
Painted Yard Stars
Painted Burlap Banner
Photo backdrop
Pool Noodle Firecrackers
Fun
scavenger hunt
Bingo
Bean Bag Toss
Squirt Gun Races
Tin Can Toss
Our local fireworks show is tonight, and we can’t wait. I hope that everyone has a SAFE and happy fourth of July. Remember that our freedom was never free.
-
Stove Top Popcorn with Malaysian Palm Oil

I received this product for free from Moms Meet (momsmeet.com) to use and post my honest opinions. Compensation for this post was provided and this page may contain affiliate links.
We have been cooking up stove top popcorn in our house for a couple of years now. I never knew just how simple it was until I finally gave it a try. The one downside is that my family isn’t a big fan of the traditional cooking oil used for this. Enter Malaysian Palm Oil. Have you ever heard of it? This was a new product to me, and I was thrilled to learn about it.
I’ll tell you more about it later. Trust me, it will blow your mind. You know I am all about health and wellness.Here is the lineup: 3 Tablespoons of Malaysian Palm Oil1/2 cup of popcorn kernelssalt to taste1. Pour the oil and popcorn kernels into a deep pan or pot with a lid. Admire the beautiful red palm oil, because it’s such a gorgeous color.
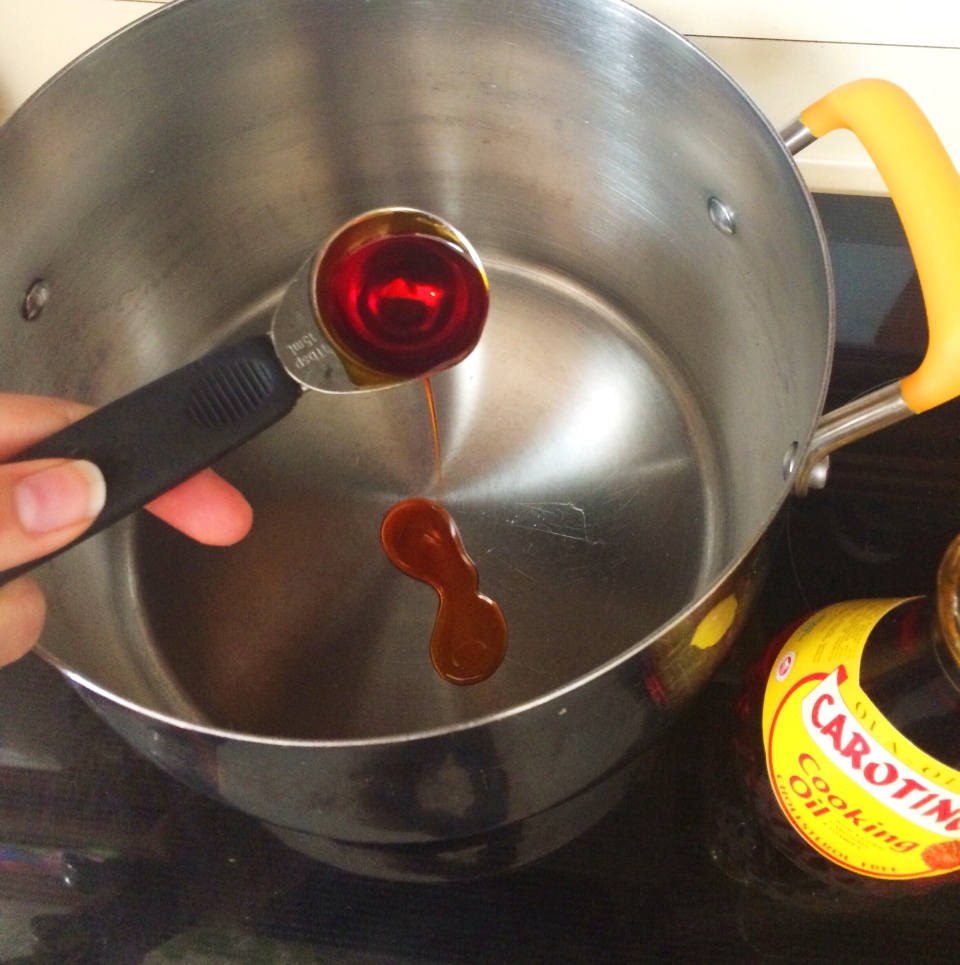 2. Place the pot (or pan) over medium high heat with the lid vented slightly. Lift the pot and shake periodically while it heats and cooks. Listen and watch for the popcorn to pop. It will begin popping vigorously.
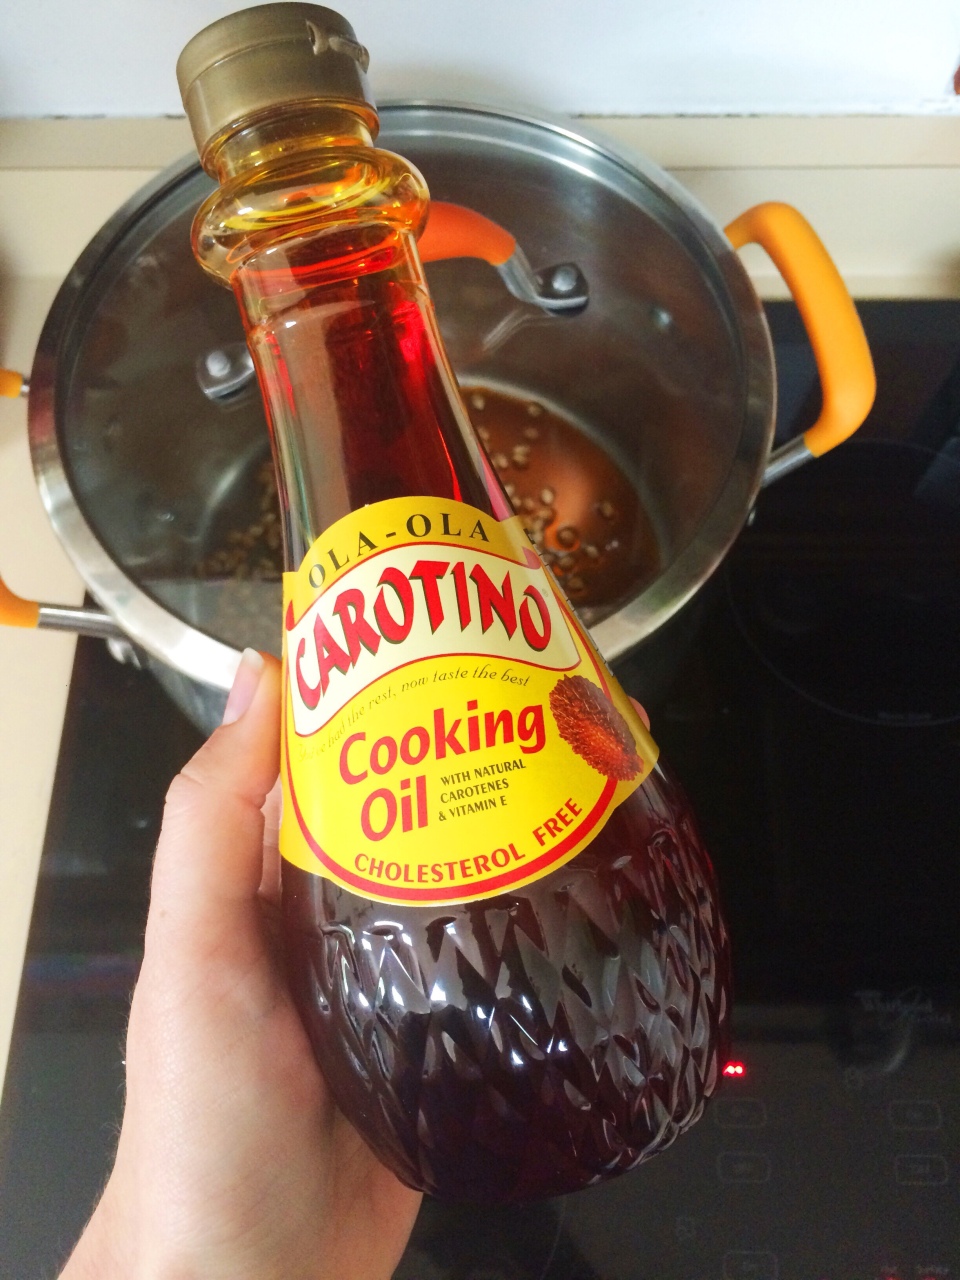 3. When the popping slows, remove it from heat. It will continue popping for a little bit, so be cautious. When the popping is stopped, remove the lid and add salt. You can also do fancy spice combinations if that is your thing. My kids and husband like the basics.
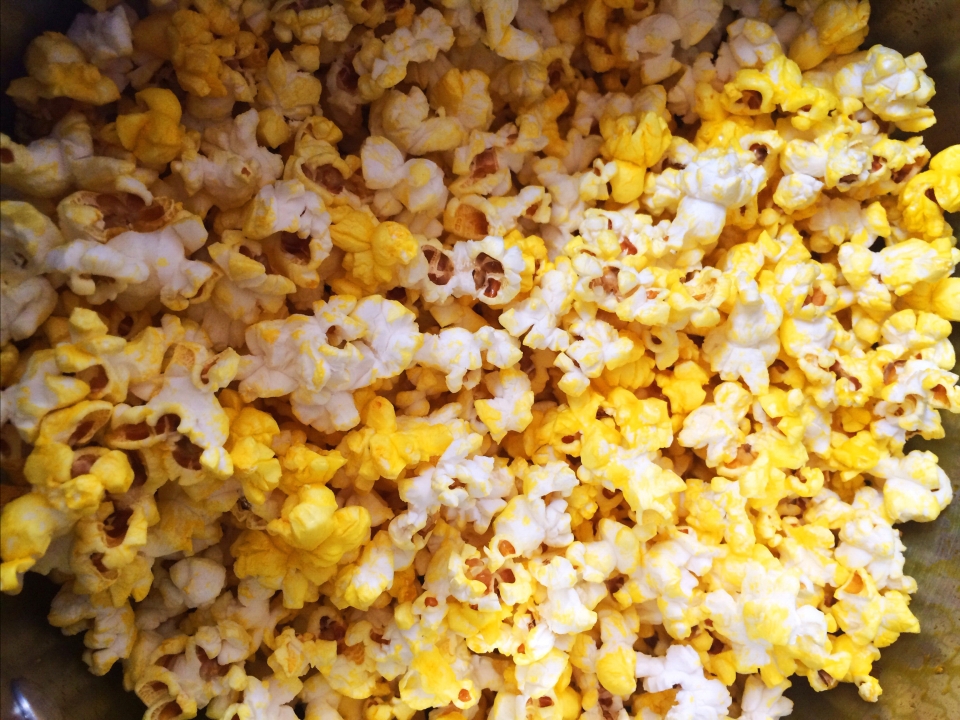 Look at how golden that oil is! There is no butter on this popcorn; only Malaysian Palm Oil and a sprinkle of salt. This recipe made plenty for our family, so if you are making it for just yourself, definitely cut the recipe down by 1/3.
Now for some facts about Malaysian Palm Oil!- Malaysian Sustainable Palm Oil is trans fat free and rich with nutrients- how awesome to have an oil with benefits!
- Most of the palm oil used in the US is is sustainably grown and produced in Malaysia.
- Palm oil is non-GMO and ideal for high-temperature cooking.
- A one-acre palm oil plantation produces 11 times more oil than a one-acre soybean field. SUSTAINABLE.
- Malaysia is a very progressive, environmentally friendly country. By the end of 2019, the country plans to have 100% of its palm oil certified sustainable.
- Malaysian Sustainable Palm Oil comes in golden and red varieties. Red Palm oil is particularly rich in nutrients, such as vitamin E.
- Sustainable Malaysian Palm oil IS compliant with the Autoiummune Paleo diet!
- Malaysian Palm Oil is cholesterol free!
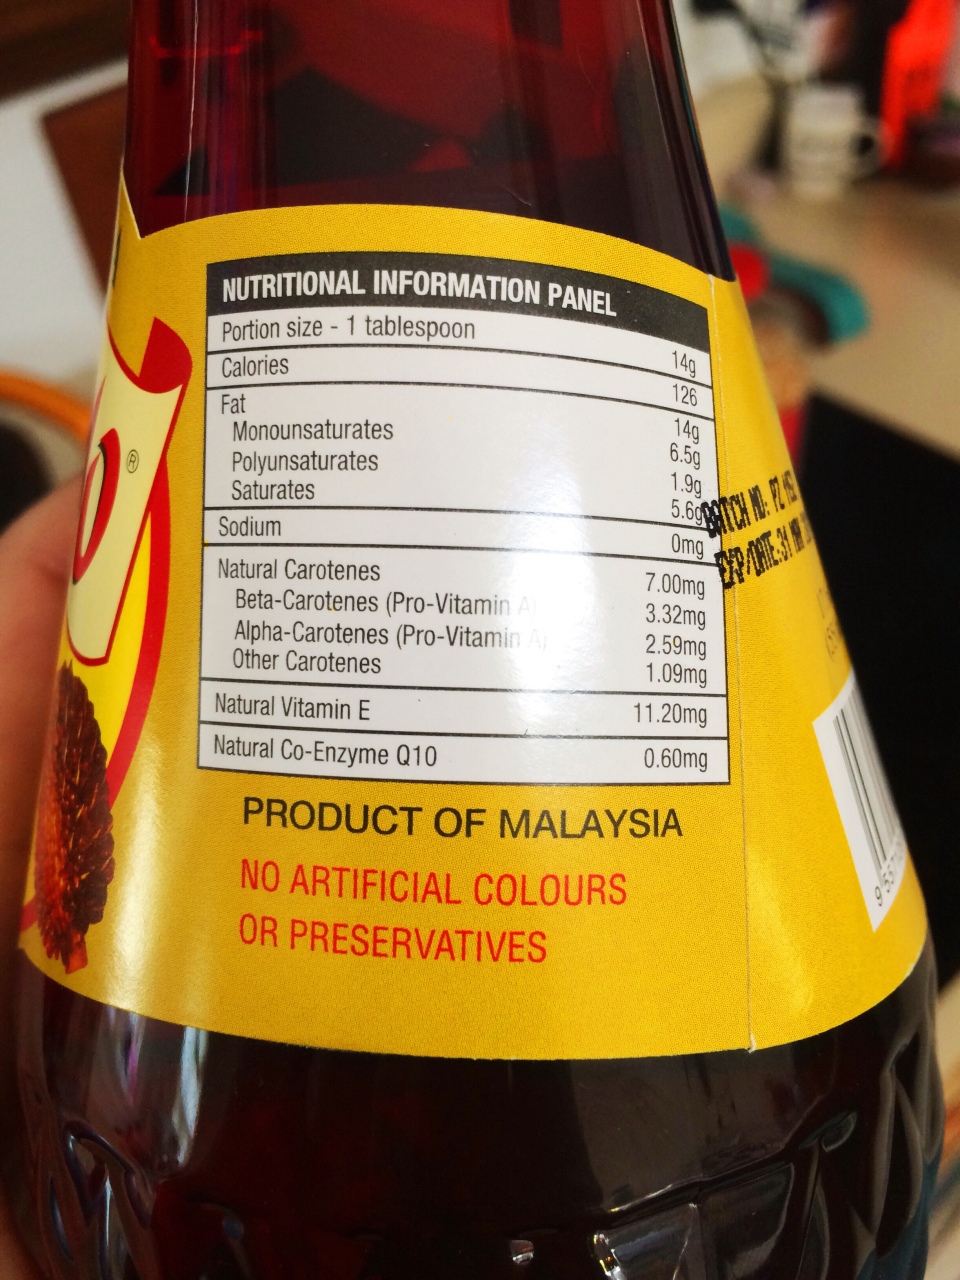
I had to share this nutrition information! This is a great way to work in beta-carotene for those with an allergy to other sources. It is also full of vitamin E, which is great for healthy skin/hair/nails and building up the immune system. It is always best to get your vitamins from natural sources first.Like I said before, Malaysian Palm Oil is great for high heat cooking– up to 450 degrees. Scott has been brushing it on the grill to keep our food from sticking, and it has been working great! It is so much better than using other grill sprays that are full of chemicals. Run, don’t walk, to get yourself some Malaysian Palm Oil and enjoy the many health and taste benefits! Let me know if you give it a try! I would love to hear your thoughts.
-
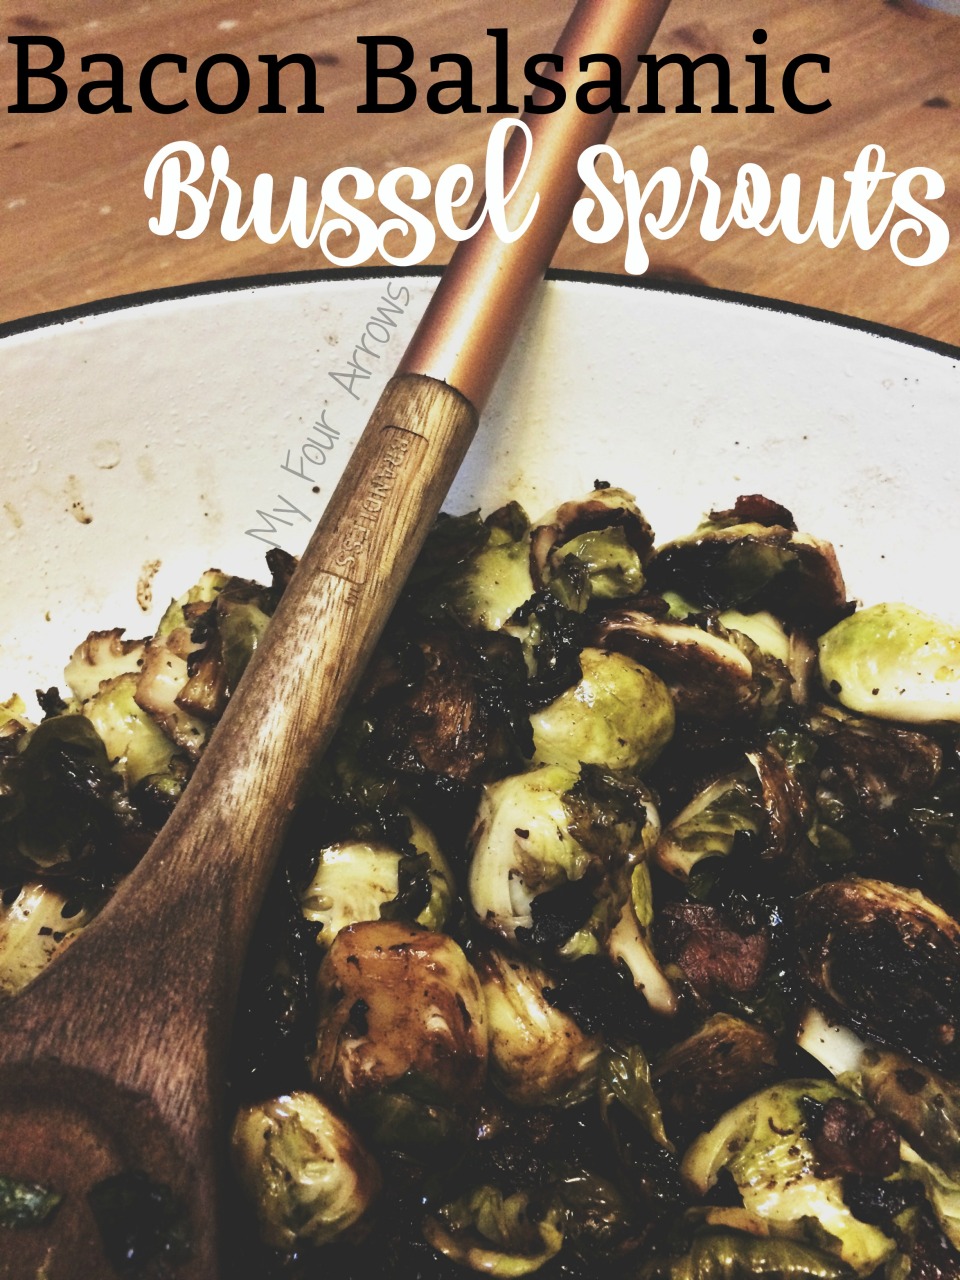
Bacon Balsamic Brussel Sprouts
1 pound of brussel sprouts
4 slices of nitrate free bacon
2 T GF balsamic vinegar
pink sea salt
Cut the bacon up into small pieces before cooking. To prepare the brussel sprouts, cut the stems off and cut each sprout in half. Do not skip cutting the sprouts in half. Dispose of the stems in your compost pile or garbage. Pat the brussel sprout pieces dry so the grease won’t splatter later.
Cook the bacon until it is crispy. Remove from skillet and and let drain on a towel. Leave the grease in the skillet.
Put the brussel sprouts in the skillet with the bacon grease and cook until they are soft or you can pierce them with a fork. I like mine charred, obviously, so I cook mine for quite a while.
Once the brussel sprouts are done, drizzle the balsamic vinegar over them and heat until warm. Add the bacon back in just before serving so that you preserve the crispiness of the bacon. Sprinkle the sea salt over the top to taste.
This keeps in the fridge for a few days, but your bacon will not stay crispy. This recipe is also really forgiving. You can use more or less bacon. You can add more vinegar or omit it all together if you don’t like it.
**Another alternative is to pour balsamic vinegar (1/2 cup or so) into a sauce pan and let it reduce. Then, drizzle the reduced vinegar over the top.**

-
Caramel Mocha Affogato
I received a free kit from MyMagazine Sharing Network. I was given the supplies to create my own Affogato. Affogato is basically a scoop of ice cream, coffee, and any other delicious toppings that you want to add.
Coffee and ice cream? Sign me up!
Here is my recipe:
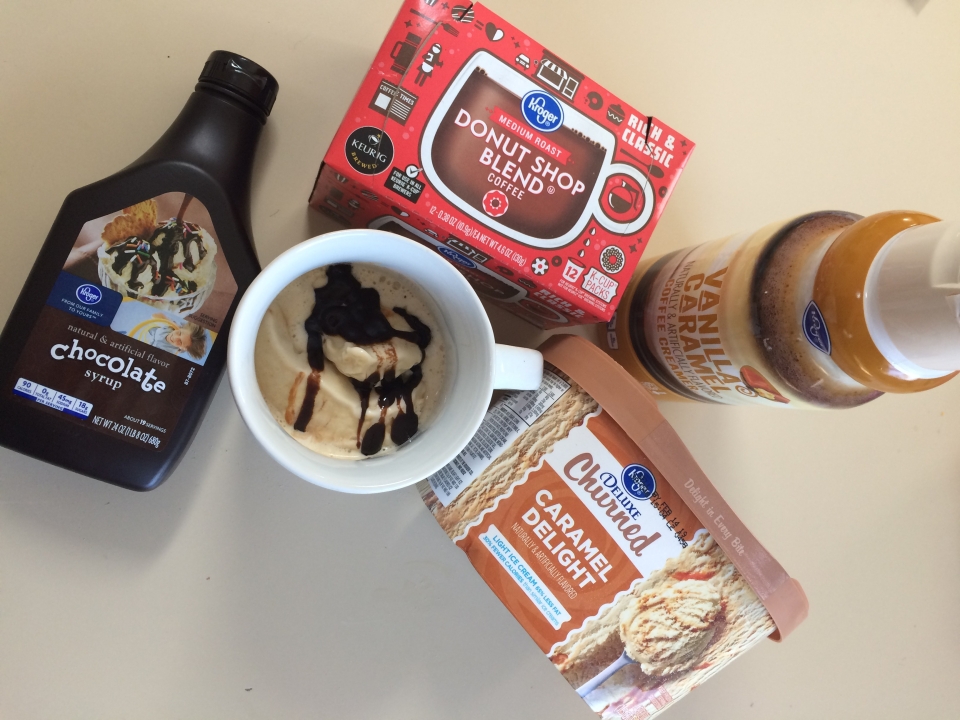
1 Large Scoop of Kroger Deluxe Churned caramel delight ice cream
1 8 ounce cup of Kroger Donut Shop Blend Coffee
A splash of Kroger Vanilla Caramel coffee creamer
A drizzle of Kroger chocolate syrup
Scoop the ice cream directly into your coffee mug. Pour the coffee and creamer over the top and drizzle with chocolate syrup. Enjoy dessert and coffee all in one!
I strongly encourage you to sign up for MyMagazine Sharing Network. You can try out a lot of really awesome products this way! -
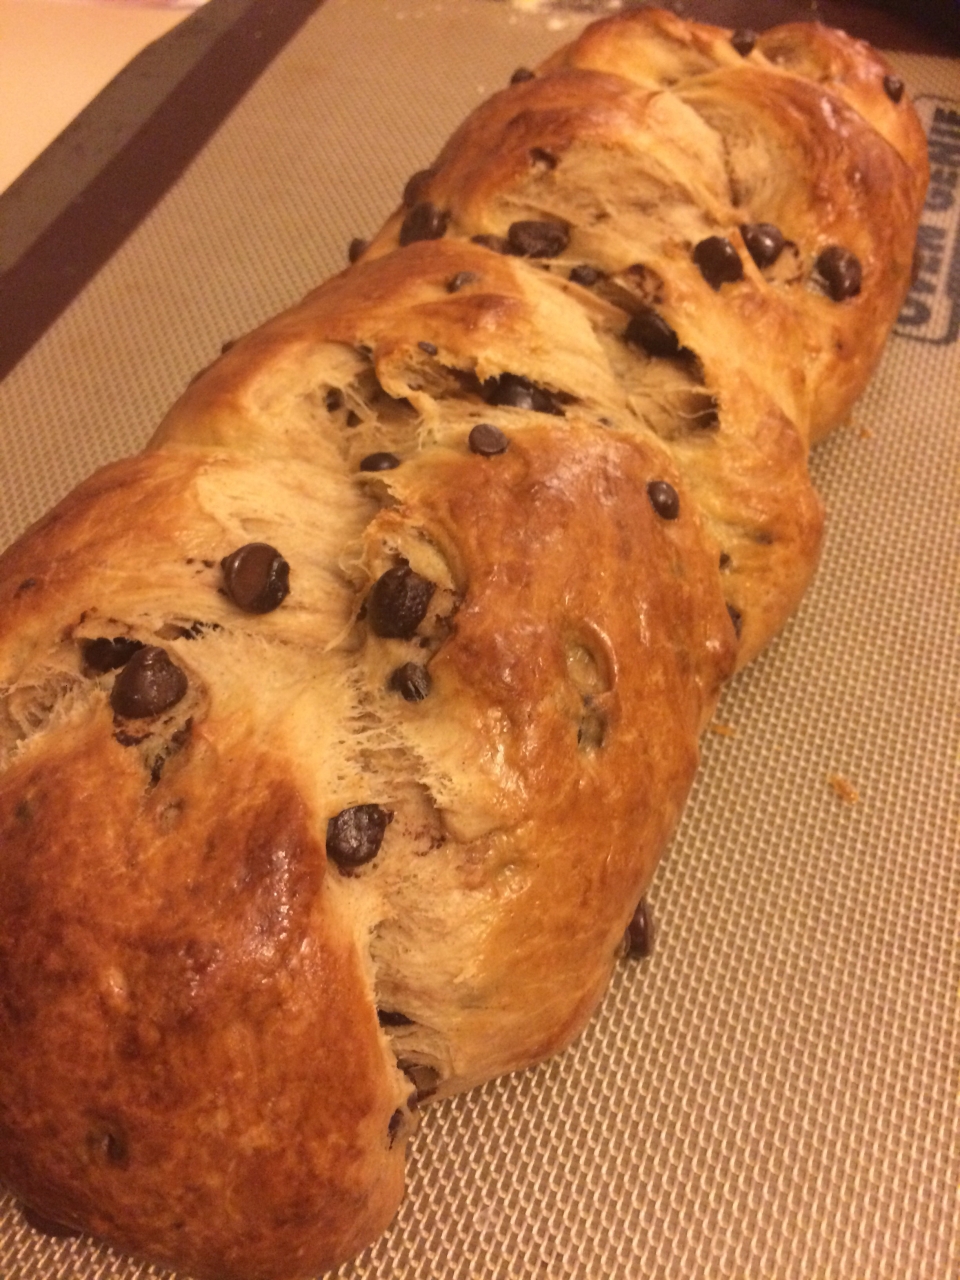
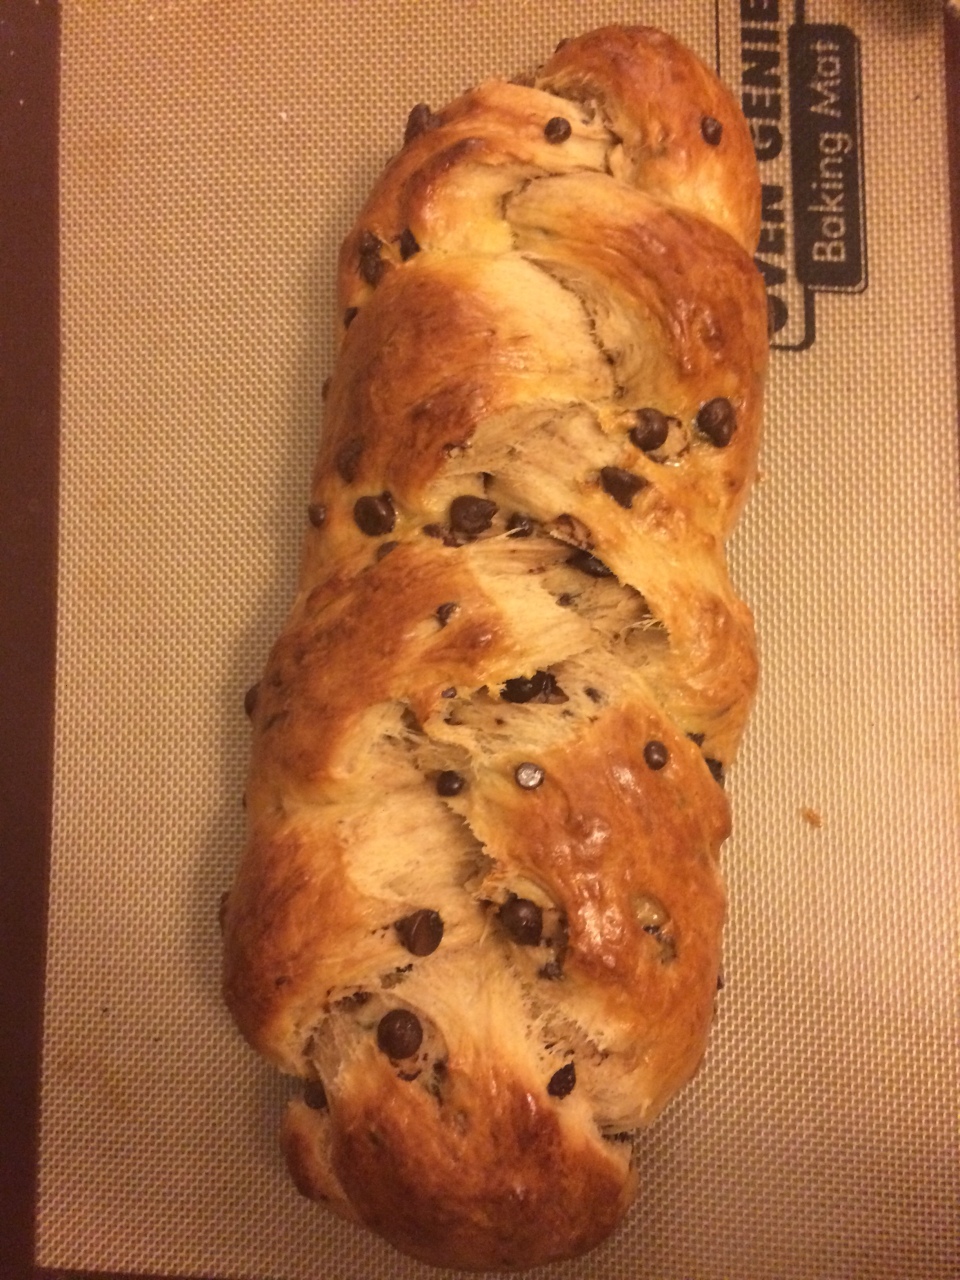
Braided Cinnamon Chocolate Chip Bread (Dairy Free)
1 Cup warm almond milk (or any dairy alternative)
1/2 cup white sugar
1/2 teaspoon salt
1 Tablespoon cinnamon
2 1/4 teaspoons active dry yeast (or one packet)
3 large eggs (You can use flax eggs if you want to make this vegan)
1/2 cup softened Earth Balance spread (This)
4 1/2 cups unbleached all-purpose flour, plus more for kneading
1 cup Enjoy Life chips1. Combine warm milk, sugar, salt, and cinnamon. Add yeast and let sit until frothy (approx. 5 minutes). You want your milk around 105-110 degrees so that it proofs well.
2. Add in the softened butter and 2 of the eggs and mix. Note: one egg will be saved to be brushed on the top before baking.
3. Gradually add in the flour 1 cup at a time. Add the last half cup and knead in the bowl until it’s incorporated. Turn dough out on a floured surface and kneed for 7 minutes.
4. Place the dough in a greased bowl and cover it. Let it rise in a warm place for one hour, or until doubled. (If you need to create a warm, draft free place, turn your oven one for one minute. Turn it off, and pace your covered dough inside.)
5. Split the dough into two balls. Kneed 1/2 cup of chips into each ball. Split each dough ball into three pieces and roll each into 12 inch long “snakes”. Braid three snakes together for each loaf. Make sure to pinch the ends and tuck them under to be sure it doesn’t come apart while baking.
Something I should have done differently is to make a looser braid so that the dough had room to expand while it was cooking.
6. Beat the remaining egg and brush the top of each loaf.
7. Cover the loafs and let rise for 30 minutes.
8. Bake for 25 minutes at 350 degrees
I love these baking mats. NOTHING sticks to them!! If you bake a lot, I cannot recommend them enough.
Let me know what you think if you try it!
-
Gluten & Dairy Free Coffee House Overnight Oats
I love finding healthy and easy breakfast foods. I like it even more if I don’t have to work at it when I wake up. I am not a morning person. Add caffeine to my food, and I’m all in!!! I really like chia pudding AND oatmeal, so I feel like this is the perfect combination.
I adapted this from this recipe that I found on Pinterest.
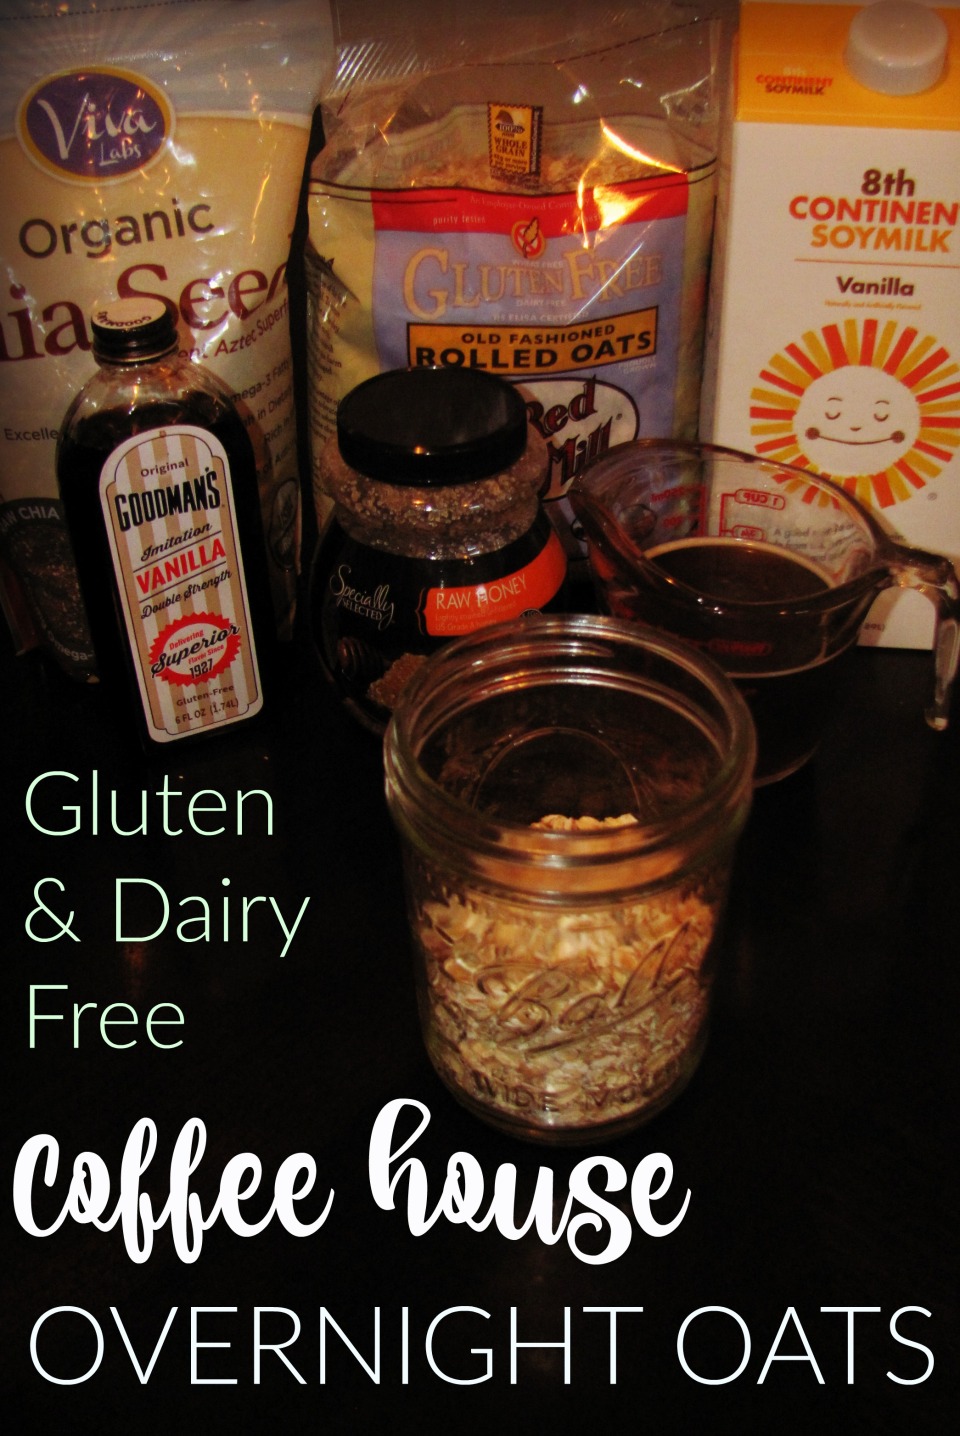
1/2 – 3/4 cup Gluten Free Oats
1 tablespoon Chia Seeds
1 teaspoon raw honey (If you want to make it vegan, use brown sugar, coconut sugar, etc.)
1/4 – 1/2 cup vanilla soy or almond milk
1/2 cup coffee
1 teaspoon GF vanilla extract
Put all ingredients in a jar with a lid
Stir or shake to mix well.
Cover and put in the fridge overnight.
You want to eat this cold. If you heat it in the morning, it will turn to mush and be gross. You can add some extra liquid of your choice in the morning if it has thickened too much for your liking. You really can’t mess it up!
Have you tried overnight oats before? I’d love for you to share your favorite recipe! -
Panko Sausage Stuffing

-
Organization- Menu Planning
I am an organization freak. I cannot stand clutter. Everything needs to have a place. If it doesn’t have a place I throw it out or donate it. Pack rat is definitely not something you can use to describe me.